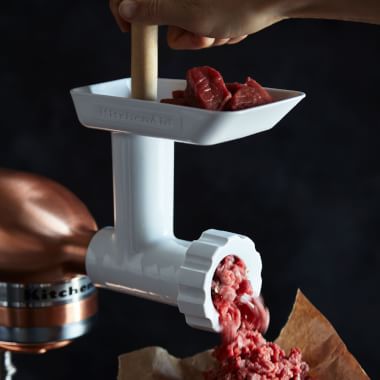
Using a Meat Grinder
Sausages, burgers and spaghetti are go-to meals for many, so why not take them to the next level? Grinding your meat at home gives you the best flavor and can be more economical too.
The traditional way to grind meat is with a dedicated meat grinder, which is the easiest and most efficient method, not to mention ideal for sausages that require casings.
Generally speaking, somewhat fatty meats are best for grinding. Although cuts like beef chuck and pork shoulder can be tough when cooked whole, when they are ground, they are both tender and have tremendous flavor from the significant quantity of fat.
To prepare meat for grinding, cut off any excess fat and any connective tissue before cutting it into small pieces, usual 1 to 2 inches (2.5 to 5 cm) across, that will fit into your grinder. Connective tissue is very tough and will tend to jam up your meat grinder, so the less of it you start with the better.
For the best results, the meat must be thoroughly chilled, because once the fat in the meat warms up, it tends to smear rather than form the tiny bits that you want. If possible, you should even chill the meat grinder, or at least the cutting plate you are using. The easiest way to chill the meat is usually to spread the pieces on a baking sheet, cover it with plastic wrap, and pop it into the freezer for about 15 to 30 minutes, depending on how warm your kitchen is. Remember, the goal is to have the meat very cold but not frozen.
When the grinder is running, be extremely careful to keep your fingers away from the blades. Meat grinders come with a tool for pushing the meat through the feeding tube; never stick your fingers in the tube.
Of course, it’s important to thoroughly clean the grinder after using it. Follow the manufacturer’s instructions, but, in general, you want to take off the removable parts and thoroughly scrub them with hot, soapy water. A small bottle brush may be helpful for getting into the crevices. Carefully dry the grinder before storing it.


